Wow, time flies when work is so much fun. Although my blog
has fallen behind a little bit, luckily my brewing has not. Going to try and
catch up in the next few weeks and to get started I need to go back in time to
February. As I thought about my next brew I looked at the weather and a cold
snap was coming so I decided that the best beer for the cold was a stout. After
searching on Homebrew Talk I found a fairly simple stout recipe, so simply it
was Stupidly Simple.
After getting the grains and supplies from Austin Homebrew it
was time to brew. After letting the grains mash for an hour it was time to
drain.
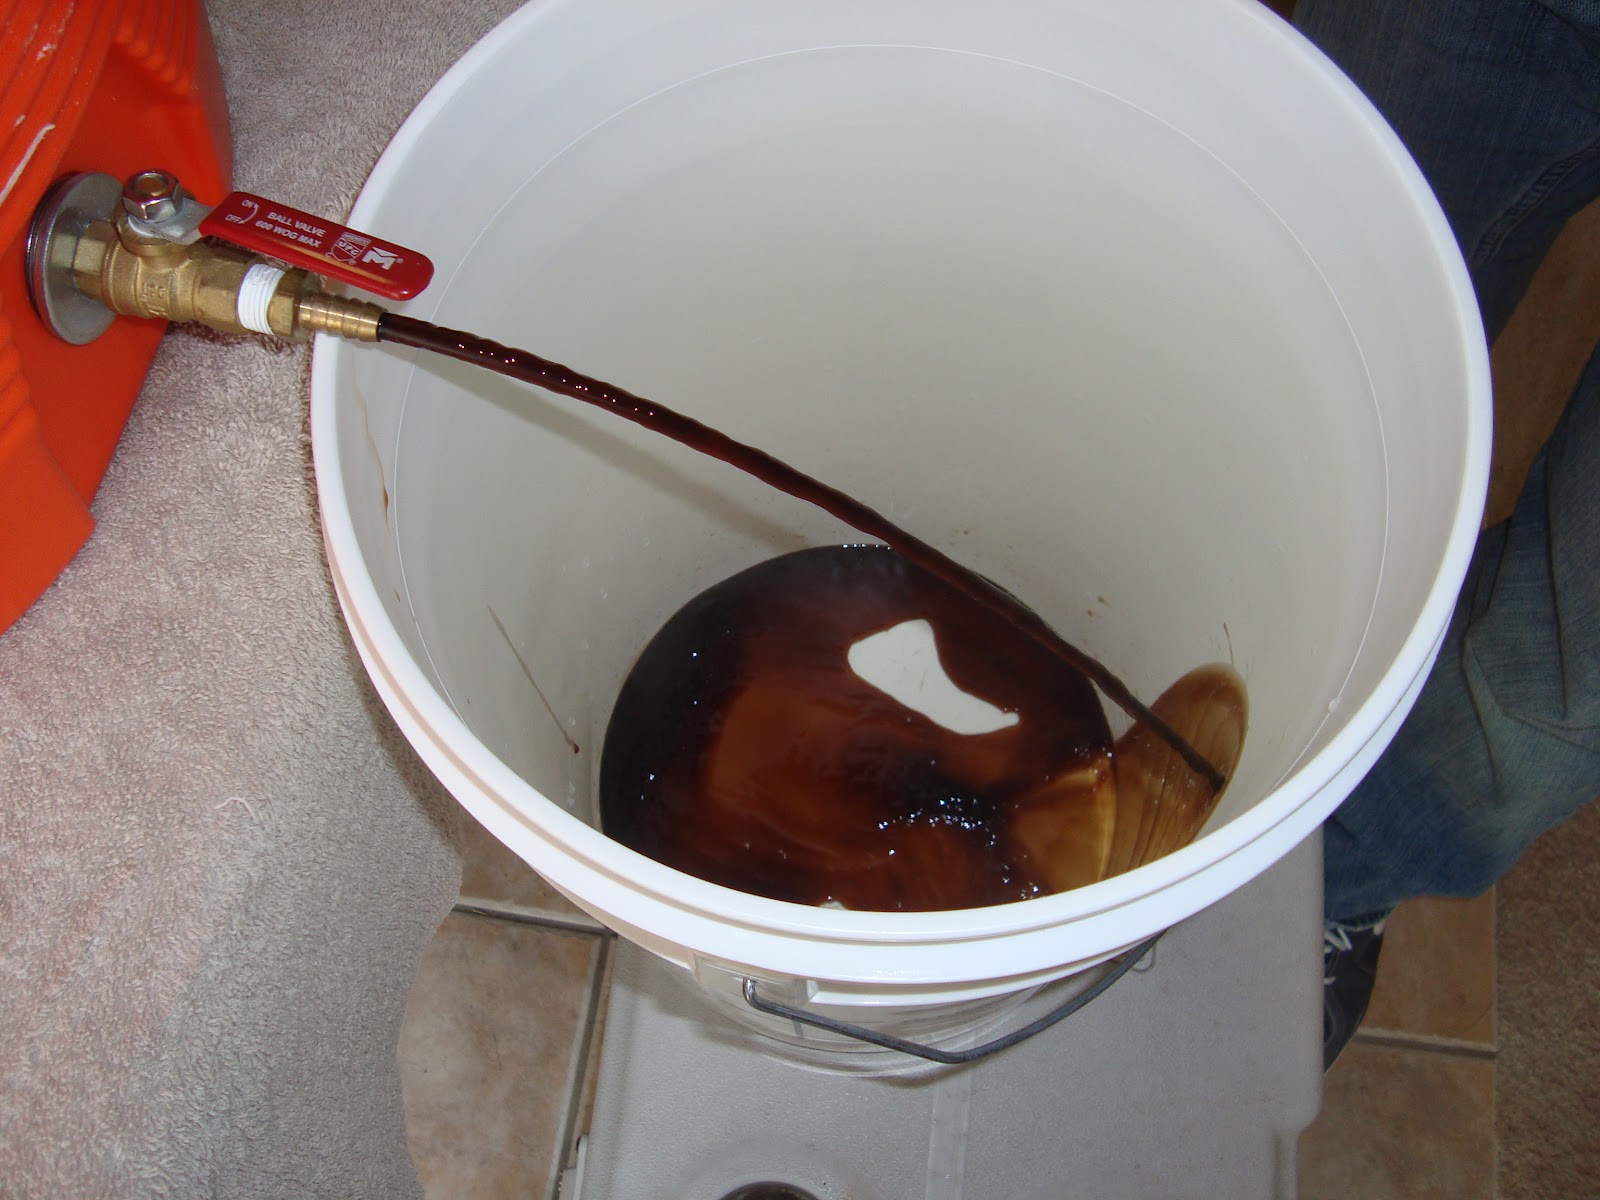
After the initial drain and sparge were complete, I set
about for the boil. It was pretty cold but I had the fire and some coffee to
keep me warm
There is an old adage that a watched pot never boils. I
proved that wrong, way wrong. Just as I was about to get comfortable in my
folding chair the foam from the wort started to reach the top of the pot. After
removing the wort from the flame I turned to another old remedy, a wooden spoon
on the top of the pot to avoid a boil over. Not sure if it worked but I did not
have another problem with a boil over.
Once the boil was done it was into the fermenter but not
before a sample gravity reading.
Now it was time to wait for the fermentation to complete,
more on that soon though.
My beginner’s journey of extract and partial mashing was
over and it was time to put on my big boy brewing pants and take a try at all grain
brewing. For those unfamiliar with AG (All Grain), it is a brewing process
where you extract the sugar directly from the grains (Barley, Rye, etc.). This
is different from Extract and Partial Mash because in those brewing techniques
the majority of the sugars is extracted from the grain and delivered to you
ready to boil and brew. Think of it as Hamburger Helper vs. made from scratch
pasta. There is a step up in equipment when it comes to doing AG but this was
helped by a brewing friend in McKinney who graciously let me take his Mash Tun,
but more on that later.
For my first AG beer I decided to go with a Saint Arnold’s
Lawnmower Clone. This is a Kolsch style and with spring approaching it sounded
great.
The first part of AG brewing is to extract the sugars from
the grains. This is done by letting the grains steep in hot water similar to
what happens when you make tea. For this recipe the grains needed to steep for
one hour. For that hour you need to keep them at approximately 155 degrees Fahrenheit.
The easiest way to do this is take an orange water cooler and let the grains
sit in there. This was something I didn’t have but thanks to Chris, he let me
have his.
After letting the grains steep you need to drain the mash water.
Before you can really let it flow out you have to “Vorlauf”. This lets you take
the sediment that is at the bottom of the cooler out and put them onto the top.
After draining the mash water there is still some sugars
left on the grains. To remove these you need to “wash” the grains. This is done
through a process called Sparging. I prefer to batch sparge, or dump a lot of
hot water in. After adding more hot water, vorlaufing and draining it was time
to boil.
Due to large amount of water used for AG I made the switch
to using a propane burner. Also due to large amount of water was my first
experience with a near boil over. Luckily I got the brewpot off just in time.
Don't worry, the green is from the hops
After boiling and cooling the wort, I took my gravity
reading. Unfortunately I missed the target OG by a couple of points, nothing
too crazy though. I then pitched the yeast and said goodbye to the Kolsch for a
couple of weeks.
I was fairly impressed with how simply my first AG batch
went. Several lessons were learned but overall it wasn’t too bad. Can’t wait to
try this one out!.
Thanks to a fellow home brewer I finally have all the equipment necessary to do All Grain brewing, but before I could attempt this I had one more extract brew to complete. I had ordered a Winter Warmer kit from Austin Homebrew Supply after being inspired by Rahr’s Winter Warmer. The kit came complete with lots of grain and lots of extract, nine lbs of Extract to be exact.
This brew was similar to others that I had done before but with one small change. For this beer I would use the oven. Why the oven you ask? During a partial mash you need to soak specialty grains in hot water (150° F) for 45 minutes to extract sugar and flavors from the grain. Instead of trying to regulate the temperature on the open stove for 45 minutes I decided to cheat and put my brewpot in the oven after warming it to 150°. Turns out this was a lot easier than trying to regulate on the stove.
After this was done it was time for the boil and the addition of hops and the liquid malt extract. It was a big surprise to me when I read the package to see that the LME was a light extract. This surprised me because the Rahr version of this beer was a Dark English Ale and adding the Light LME would make this beer more copperish. Oh well, in it went.
Once the boil was over and the Wort was chilled I took a gravity reading (OG). The Hydrometer read 1.077; this was going to be a strong beer. In simple beer terms the higher the gravity after boil the stronger the beer. For math types use this formula: (OG-FG)*131=ABV, in my case (1.077-1.019)*131= 7.6% ABV. For reference a Miller Lite is 4.2%.
After putting in the yeast I sealed up the fermenter along with my extract brewing days because up next was the coveted All Grain method of brewing, but more on that later. Prost!
This post can simply be summed up in the phrase: RDWHAHB. No I didn’t hit my head on the keyboard and post what came out. RDWHAHB is an acronym that stands for “Relax, Don’t Worry, Have A HomeBrew”.If I had done this write up immediately after brewing it might have just been titled ”Lessons Learned”, thankfully a couple days and a couple homebrews later everything seems to be working out.
We brewed on Thursday night and for the most part everything went well, better than expected in fact. Taking in lessons from last time I created a “Brew Cheat Sheet” for our schedule and laid out all the ingredients and materials in the order we would need them.
Everything went great, even though we changed a couple of things from the first brew. First, since this was a partial mash we needed to add extract. After doing some research online I decided to add it in the last 15 minutes of the boil to get rid of the “twang” that often accompanies the use of extracts. Secondly I added in a Whirlfloc tablet to clear the beer, because pretty beer is good beer. Finally and most importantly, I used my new Christmas gift, a Wort Chiller. A wort chiller looks like a copper spring that sits in the wort, cold water runs through it and cools it faster. If I had known how much ass this thing would kick I would have gotten it sooner. During our first brew we chilled the wort by placing it in a sink ice bath. This took about 45 minutes to cool down. With the Wort Chiller this process took 15 freakin’ minutes. So much easier and so much better.
Unfortunately that was where the good vibes ran out. After adding the wort to the fermentation bucket I need to bring the volume up to 5 gallons, this is standard. After adding in a gallon of water I took a hydrometer reading. The target Original Gravity for this beer is 1.053, the reading was 1.042, this was bad, very bad. For most reading you might say .011 is pretty close, unfortunately this is not the case. If you were playing football this would be equivalent to kicking a field goal and nailing your coach in the head. Although this was bad it was still ok, the beer tasted fine it just wouldn’t be as strong, that is doable.
Before sealing up the fermenter and waiting for beer to form I needed to add in yeast. For this brew I decided to use liquid yeast from Wyeast. This came in a “Smack Pack” where you have to hit the packet to activate it. The morning of, I took the packet out and smacked it. When it came time to dump the yeast into the fermenter I noticed that the pack had not inflated all the way and as I poured out the yeast, I could diffidently tell that yeast was not ready to be poured but since it was already opened I had to commit.
Once I poured in the yeast and sealed the fermenter I was left to my thoughts about what I had done wrong to get the bad hydrometer reading and the poor yeast. I sat down to research both. After reading some threads on homebrewtalk.com I discovered my bad hydrometer reading was probably due to the gallon of water that I added to the wort to bring it to 5 gallons. When I took the reading right after adding the water I had not given it enough time to mix, thus giving me a bad reading. As far as the yeast, all I had seen told me to wait and that is what I did. On Saturday morning, like a kid on Christmas, I went to my fermenter and sure enough there was the tell-tell sound of bubbles. The yeast was working and everything looks to be going good.
So, after all that we come back to my original point,”When it looks to be going south, RDWHAHB”. Till the next time, Prost!
Wow! Going into this I was pretty weary of what would/could happen but the entire process went so much better than expected. There was really only one “Oh No!” moments and even that wasn’t all that bad. I think a lot of had to do with having another set of hands there courtesy of my wonderful wife Rachel.
The Brown Ale kit from Midwest Bewing Supplies came complete with almost everything I would have wanted *cough* hop sack *cough*and had fairly good instructions.
The first thing that signaled this might go well was how easy it was to keep the steeping in the desired range. Although, getting it to that range was a real pain. One thing I did not take into account was how hard it would be heat and then boil 4 gallons of water. Turns out is much more difficult and time consuming than a can of Green Beans (who would have guessed?).
Once the grains were steeped we had the “Oh No!” moment. With Rachel stirring I went to add in the malt extract which came in a mini-milk jug. I was a pouring the extract in there went the collar from the jug. We were able to retrieve it fast and this shouldn’t affect the final taste.
Boiling is the most boring part of brewing all you can do sanitize, sanitize, and sanitize in prep of what comes next.
Cooling the wort was our biggest pain point. We did not have enough sink space to cool it effectively. In total it ended up taking about 40 minutes to finally get the wort cool. A positive from this is Rachel now knows what she is getting me for my birthday/Christmas, a Wort Chiller (ooo, ahhhh).
The Original Gravity on the instructions said to be in the range of 1.444 – 1.448 we hit 1.446 (YES!). It is now in the fermenter and hopefully soon we will start seeing good progress made by the yeast.
So with that, the Brown Ale is done for awhile and now all we can do is sit and wait and wait and wait…