Showing posts with label Kegerator. Show all posts

Tuesday, May 8, 2012

Homebrewing Meets Pinterest

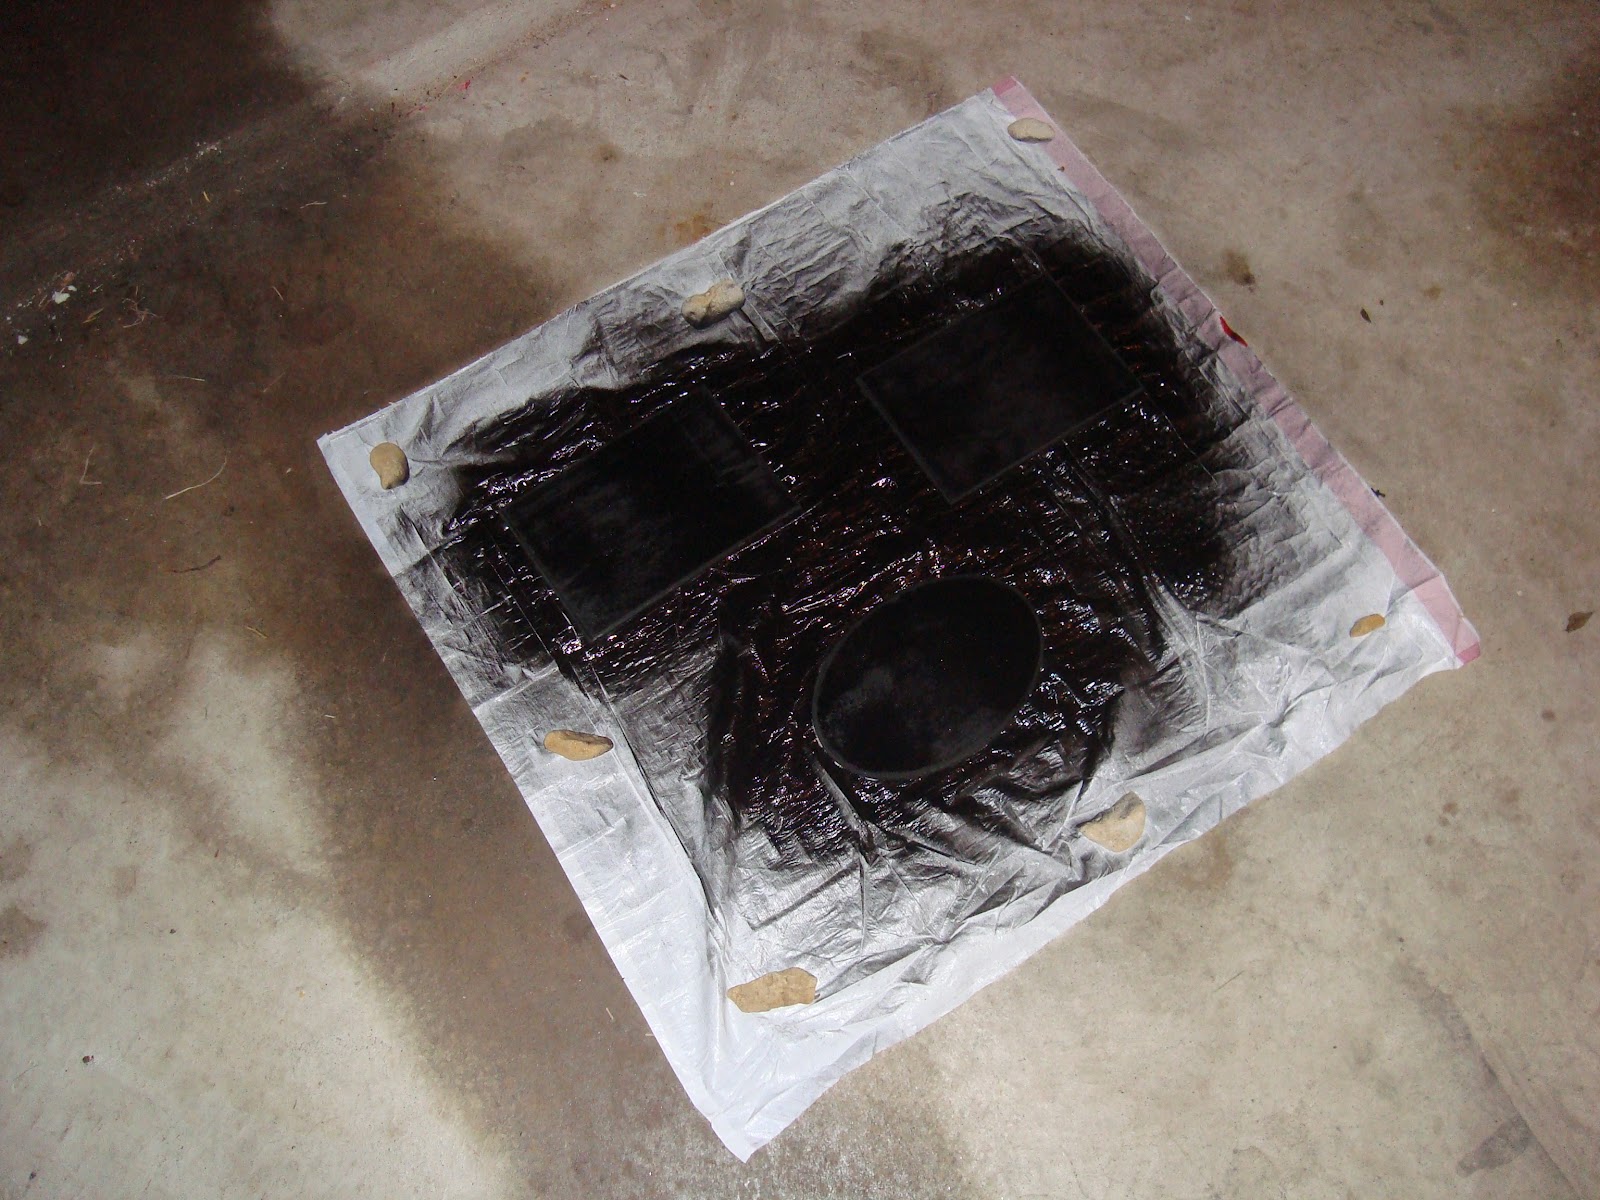
Homebrewing and Pinterest. At first glance you might not think these two have much in common and most of the time you would be right. At the heart of both of these is simple solution to problems and after fully stocking the kegerator an interesting problem presented itself. One of Rachel’s friends was getting married and several people would be staying with us. The problem I saw was, how was everyone going to tell which beer was which? Luckily Rachel had a very good solution thanks to the popular website Pinterest, magnetic chalkboards. The idea seemed simple enough, spray paint some chalkboard paint on some store bought boards, glue on magnets and boom, magnetic chalkboards. All the supplies were bought from Wal-Mart for about 10 bucks.

Spray painting was a breeze. Applied two coats and called it good enough. The magnets were a breeze too.


Once the boards were done it was time for my “art skills” to shine through


The finished product.
Now that all the taps were installed and identified it was apparent that one last thing was missing. A new drip pan to finish it out (for now) and make it look professional. That was too much work for this day so, till then, Prost!


Tuesday, April 3, 2012

Kegging the Stout

After brewing the stout it sat and fermented for four weeks. Once there the fermentation stage was complete it was time for my second favorite thing about brewing, kegging. Why is kegging my second favorite? Because drinking is my first and this is the last active step before that can happen. Transferring from the fermentation bucket to the keg presented a new challenge this time around. Typically when you are transferring you want to stop before you get to the “Yeast Cake”. The yeast cake is where all the byproducts of fermentation settle out. When you are bottling or kegging you don’t typically want to have any in your beer. It isn’t bad or bad for you but it can make cloudy beer. The easy way to not get any into your beer is to stop just before you get there. Unfortunately that is hard to do when your beer is pitch black.
The simple solution to this is to tip the bucket before you start to drain. So with that done it was time to transfer.
It’s always easier to transfer with a homebrew (or two)
Tipping the bucket allowed me to stop just before the sediment got sucked out.
With all the beer in the keg into the fridge it went. This was a bit more challenging because, drumroll please, the fridge had finally been filled.
It was a little bit of a squeeze but all the kegs fit in there just perfectly, now it was time to wait while the beer carbonated. Till then, Prost!

Wednesday, January 4, 2012

Homebrew Home Improvement Part II

This is a big post, not just in size but in what it means to me as a homebrewer. At the end of this post I would have completed the list from this post and completed the first Homebrew Home Improvement post. This post also represents the culmination of a lot of hard work and planning. Being able to have multiple taps pouring delicious beer has been a pipe dream ever since I started. In other words, this is kind of a big deal. So without any further interruption let’s get started!
The goal of this post was to rig my fridge to dispense, not one batch of homebrew but four. In order to do this I would need four kegs, a way to run air from a central CO2 tank to all four kegs (via a four way manifold), a tap for each keg, connection for the in and out lines and the hardest part, the lines themselves. I know this is a little difficult to imagine so I have included a great picture from Keg Connection:

Unfortunately, I did not by this kit and it did not come fully assembled. This was a bit of a problem since I had never attempted anything like this.
The first and most obvious issue I ran into was that the beer line is 3/16 of an inch, the metal barb that it needed to fit over was 1/4 of an inch. For those like me, the issue is that 3/16 is smaller than 1/4. So how do we fit this? The fine folks at Homebrew HQ suggested dipping the ends in hot water to make them more flexible to fit around the barbs. After 3 or four attempts there was zero success. Then my beautiful wife had an idea, what about a hair dryer? It sounded crazy but the concentrated heat made the hoses into putty, easily fitting over the barbs.


Soon enough all hoses were connected. All that remained was to hookup up the newly redesigned system to the CO2, turn it on and cross my fingers there were no leaks. With the gas on the most wonderful noise was heard, absolutely none. With the gas good to go it was time to install some new taps.
The tap installed similar to the first, simply drill a hole in the fridge door and attach the hose. This was just as simple as the first time and soon enough the second tap was installed.


It was at this time that I had a revelation, why install taps for beer that isn’t there? Since I currently only had one keg in the fridge with another on the way I would not be using any of the other taps soon. So I put away my tools and called it a day. There would be more to do soon as I had to fill a keg for my new tap. Till the next post, Prost!

Wednesday, December 14, 2011

Homebrew Home Improvement Part 1

As mentioned before in an earlier blog entry I had a to do list. After checking off #1 of brewing more beer I decided to tackle #2, install a false bottom in my kegerator. Doing this would allow for me to store up to 4 kegs in the fridge and still leave room for bottle storage. Some of you may be asking, "Why install a new bottom, mine has a shelf?". This is a good question. If I had kept the stock shelf in the fridge it would have cracked under the weight of 4 loaded kegs.

Saturday proved to be a great day. The weather was perfect so I headed out to Lowe's to pick up a 2x4 and a sheet of plywood. Once all the supplies were picked up I set to installing the false bottom. The main issue with this design was the bottom of the fridge. If you ever remove the bottom shelf of a fridge you will notice that towards the rear, the bottom rises up at a 45 degree angle. This makes it very hard to make a flat surface for the kegs. The solution was to cut the plywood to fit the inside of the fridge and make legs out of the 2x4s. See picture below for sketch of project.
This sounded easy enough and for the most part it was. Plywood was easy to cut and place into fridge. The two sets of long legs worked fine and seemed to be the correct measurement. The issue came when installing the shorter set of legs. The first attempt resulted in one leg too short and the other one perfect. When I went to recut another leg the battery on the saw died. After waiting another 30 minutes there was enough juice to finish the cut and attach the leg. After sliding the base back in, the keg sat in the fridge nicely. Best part? Under the base there is enough room to store bottles.


With this task scratched off my list all I need is three new corny kegs and the equipment to hook them up and install them. But that is for part II, till then, Prost!

Saturday, December 3, 2011

The First Pour

After weeks of waiting it is finally here! The beer is done and ready to drink! So without further interruption, the first pour:

Doesn’t it look great? The beer was a little overcarbonated but I have sincesolved that issue. More importantly though, is that how it looks is not near as good as it tastes. I will admit that I had reservations about my first batch but overall it isn’t too bad. Although most would say that it tastes like a regular Brown Ale, to me it is something more, maybe the start of something great?
Looks like this weekend will be cold and rainy, can't think of a better way to stay inside and keep warm than with a couple of these.

Thanks to everyone who has been following the blog so far, I appreciate all the reads and comments from people, keep 'em coming!
With the first beer in the books it begs the next question, what to brew next? Till the next time, Prost!

Sunday, October 30, 2011

FRIDGE'S HERE!

Since deciding to upgrade to 5 gallon batches I was faced with the age old question of whether to bottle or keg. Well not so much as forced to pick but now free to choose. After experiencing the pains and joys of bottling previously I decided to make the trip into kegging.

I decided that if I am going to keg I am going to go all the way and make a nice kegerator. All I needed was to find a refrigerator to turn into one. Sounded easy enough, just to get onto Craigslist and find one right? Not so much. One of the down sides of living in suburbia is the fact that everyone close to me was selling Stainless Steel or French door fridges. Neither of these was what I needed, they were also out of my $150 price range. After two weeks of looking on Friday there it was! A decent $150 fridge that wasn’t too far away. I was able to call the guy and on Saturday I went and picked it up.


Now, it isn’t just enough to have the plain old garage beer fridge. No, I need a garage kegerator. With this in mind I purchased a conversion kit from Midwest Brewing Supplies.


With all the supplies the Sunday Afternoon project was set. I would have done this Saturday but as usual Texas A&M Football ruined any chance of being productive after that game. So with that I set out prepped to spend hours converting the fridge. Luckily I was wrong, way wrong. In total the project took about 45 minutes. Most of which was spent admiring how well of a job I did.

First I had to drill the hole for the tap. I choose to place the hole on the left side of the door in preparation of another keg (eventually).


And in reality that was the only tough part. After tightening some bolts the system was set up and ready to go.


After placing on the drip tray all that is missing is beer.


Hopefully later this week some progress should be made on the beer thing. Till then, Prost!