
Wednesday, April 25, 2012
Tapping the Stout
After the Stout had been in the keg it was time for a taste
test. It pours very dark, almost pure black. It has a nice dark brown head to
it, although it disappears quickly. It has a great taste, a little bit of
roasty-ness to it. Overall a great tasting beer!
 Now this has lef tme with an interesting problem. With four beers on tap how will guests be able to tell which beer they are about to pour? More on that next time. Prost!

Tuesday, April 3, 2012
Kegging the Stout
After brewing the stout it sat and fermented for four weeks.
Once there the fermentation stage was complete it was time for my second
favorite thing about brewing, kegging. Why is kegging my second favorite? Because
drinking is my first and this is the last active step before that can happen.
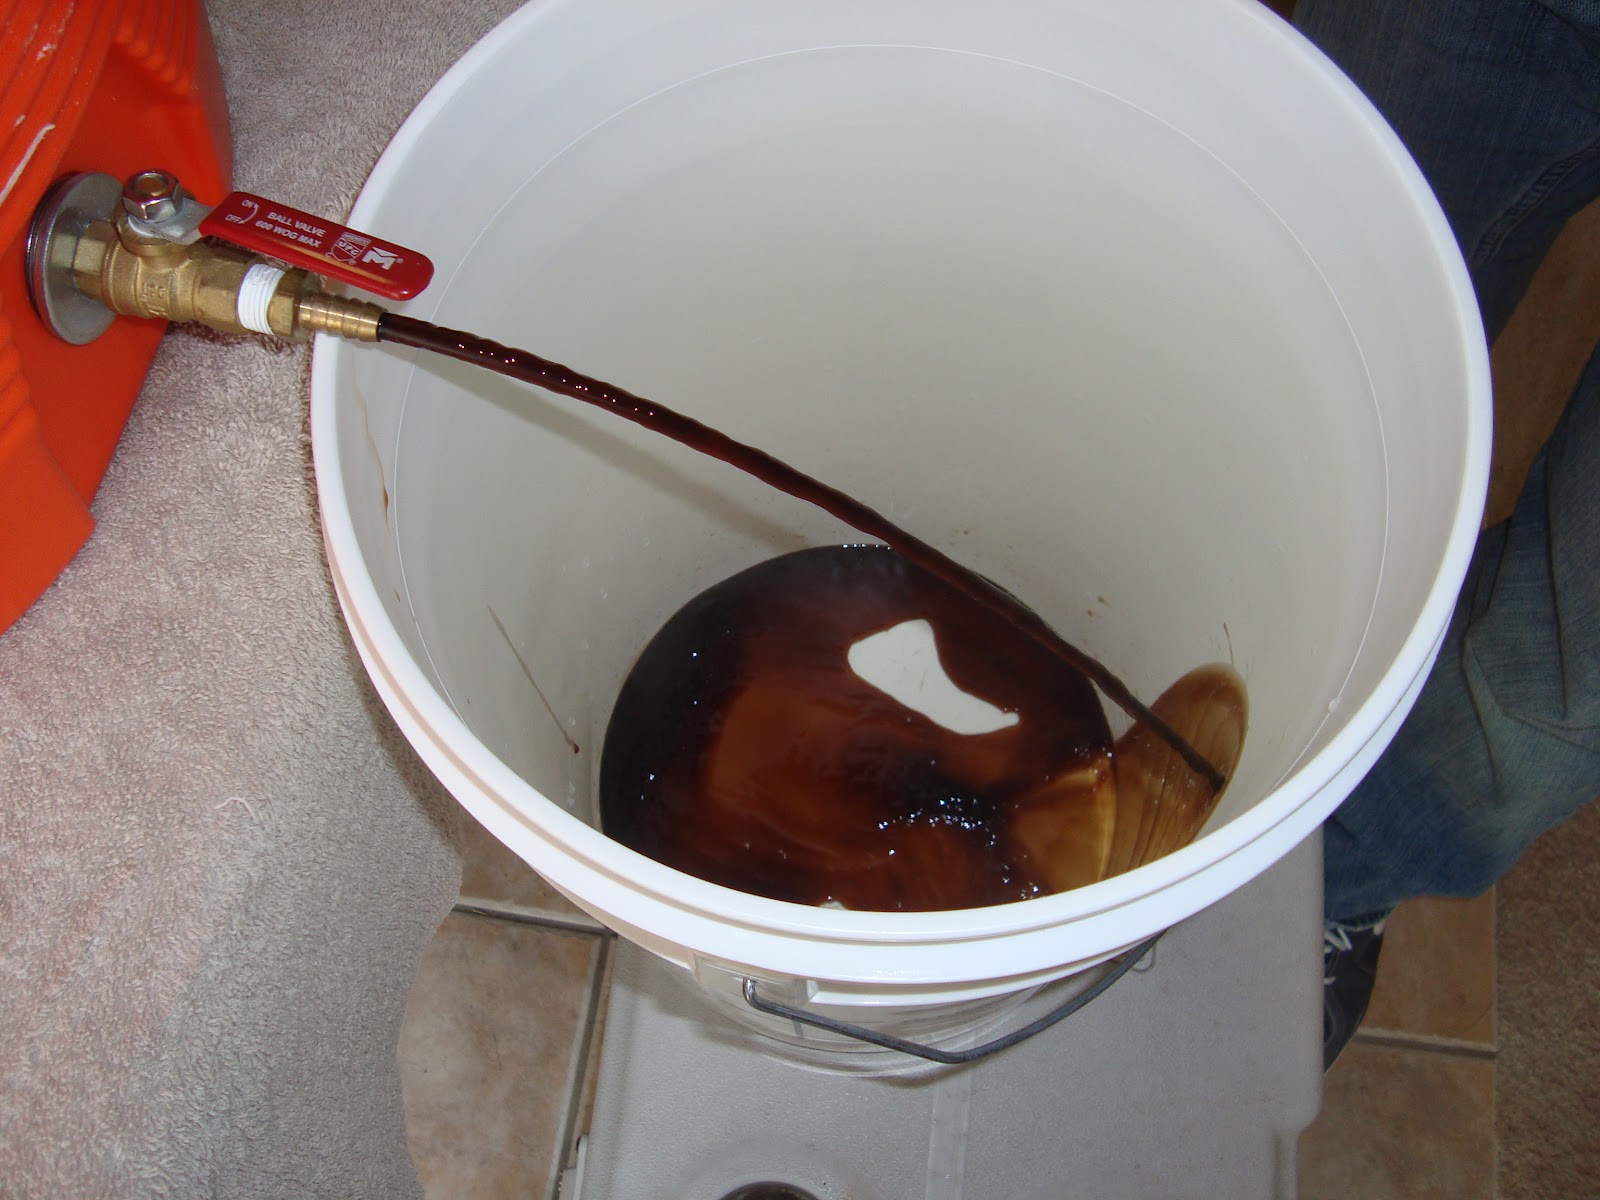
Transferring from the fermentation bucket to the keg presented a new challenge
this time around. Typically when you are transferring you want to stop before
you get to the “Yeast Cake”. The yeast cake is where all the byproducts of
fermentation settle out. When you are bottling or kegging you don’t typically want
to have any in your beer. It isn’t bad or bad for you but it can make cloudy
beer. The easy way to not get any into your beer is to stop just before you get
there. Unfortunately that is hard to do when your beer is pitch black.


 Tipping the bucket allowed me to stop just before the
sediment got sucked out.
Tipping the bucket allowed me to stop just before the
sediment got sucked out.

 It was a little bit of a squeeze but all the kegs fit in
there just perfectly, now it was time to wait while the beer carbonated. Till
then, Prost!
It was a little bit of a squeeze but all the kegs fit in
there just perfectly, now it was time to wait while the beer carbonated. Till
then, Prost!

The simple solution to this is to tip the bucket before you
start to drain. So with that done it was time to transfer.

It’s always easier to transfer with a homebrew (or two)


With all the beer in the keg into the fridge it went. This was
a bit more challenging because, drumroll please, the fridge had finally been
filled.

Monday, March 26, 2012
Stupidly Simple Stout Brewday
Wow, time flies when work is so much fun. Although my blog
has fallen behind a little bit, luckily my brewing has not. Going to try and
catch up in the next few weeks and to get started I need to go back in time to
February. As I thought about my next brew I looked at the weather and a cold
snap was coming so I decided that the best beer for the cold was a stout. After
searching on Homebrew Talk I found a fairly simple stout recipe, so simply it
was Stupidly Simple.
After getting the grains and supplies from Austin Homebrew it
was time to brew. After letting the grains mash for an hour it was time to
drain.

After the initial drain and sparge were complete, I set
about for the boil. It was pretty cold but I had the fire and some coffee to
keep me warm

There is an old adage that a watched pot never boils. I
proved that wrong, way wrong. Just as I was about to get comfortable in my
folding chair the foam from the wort started to reach the top of the pot. After
removing the wort from the flame I turned to another old remedy, a wooden spoon
on the top of the pot to avoid a boil over. Not sure if it worked but I did not
have another problem with a boil over.

Once the boil was done it was into the fermenter but not
before a sample gravity reading.

Now it was time to wait for the fermentation to complete,
more on that soon though.
Prost!
Sunday, March 4, 2012
Adventures in Cold Crashing
Since my last post the weather here had warmed up, the beer
had completed fermentation and that could only mean one thing, it was time to
keg and have a round of Kolsch. This time I was going to try something a little
different, it was called “cold crashing”. Cold crashing is the process of cooling
your beer before you bottle or keg it. What this does is it causes yeast
particles that are floating in your beer to cool down and “crash” to the bottom
of the ferementer. This will allow for clearer bear when taking the beer from
the fermenter to the keg since more particles are at the bottom of the
fermenter. Now you are probably asking, how do you cool a 7 gallon bucket? Easy,
you put it in the fridge.


After draining the beer into the keg it was pretty apparent that the cold crashing had worked just by the amount of sediment in the bottom of the fermenter. It looks green because of the hops, hops are green.


After two days in the fridge it was time to keg.


After filling the keg, it went in the fridge and about a
week later it was carbed up and ready to drink.

So how did it taste? At first sip the beer had a very
pronounced grain taste (duh, its all grain) but this was something more as if
you took a scoop of grain and put it in your mouth. Luckily this has mellowed
out since then and now this is great light and crisp beer perfect after mowing
the yard or just sitting around with friends. Till the next brew, Prost!
Monday, February 20, 2012
Family Portrait

Not a lot is going on right now, one beer is in the fermenter and another is on the way. The bridge the gap I am posting this picture from when my brother visited me a couple of weeks ago. I was able to snap a picture of my first three beers. From left to right, Ryen's Pale Ale, Basic Brown Ale (RIP), WTF Winter Warmer,
Saturday, February 11, 2012
All Grain, No Pain
My beginner’s journey of extract and partial mashing was
over and it was time to put on my big boy brewing pants and take a try at all grain
brewing. For those unfamiliar with AG (All Grain), it is a brewing process
where you extract the sugar directly from the grains (Barley, Rye, etc.). This
is different from Extract and Partial Mash because in those brewing techniques
the majority of the sugars is extracted from the grain and delivered to you
ready to boil and brew. Think of it as Hamburger Helper vs. made from scratch
pasta. There is a step up in equipment when it comes to doing AG but this was
helped by a brewing friend in McKinney who graciously let me take his Mash Tun,
but more on that later.


For my first AG beer I decided to go with a Saint Arnold’s
Lawnmower Clone. This is a Kolsch style and with spring approaching it sounded
great.

The first part of AG brewing is to extract the sugars from
the grains. This is done by letting the grains steep in hot water similar to
what happens when you make tea. For this recipe the grains needed to steep for
one hour. For that hour you need to keep them at approximately 155 degrees Fahrenheit.
The easiest way to do this is take an orange water cooler and let the grains
sit in there. This was something I didn’t have but thanks to Chris, he let me
have his.

After letting the grains steep you need to drain the mash water.
Before you can really let it flow out you have to “Vorlauf”. This lets you take
the sediment that is at the bottom of the cooler out and put them onto the top.


After draining the mash water there is still some sugars
left on the grains. To remove these you need to “wash” the grains. This is done
through a process called Sparging. I prefer to batch sparge, or dump a lot of
hot water in. After adding more hot water, vorlaufing and draining it was time
to boil.


Due to large amount of water used for AG I made the switch
to using a propane burner. Also due to large amount of water was my first
experience with a near boil over. Luckily I got the brewpot off just in time.

Don't worry, the green is from the hops
After boiling and cooling the wort, I took my gravity
reading. Unfortunately I missed the target OG by a couple of points, nothing
too crazy though. I then pitched the yeast and said goodbye to the Kolsch for a
couple of weeks.
I was fairly impressed with how simply my first AG batch
went. Several lessons were learned but overall it wasn’t too bad. Can’t wait to
try this one out!.
Saturday, February 4, 2012
RIP Little Buddy

Looks like it’s time to say goodbye to the first beer I
brewed. It was nice knowing and drinking you.
Subscribe to:
Posts (Atom)